
Practical wildlife photography tips for UK nature lovers in 2026
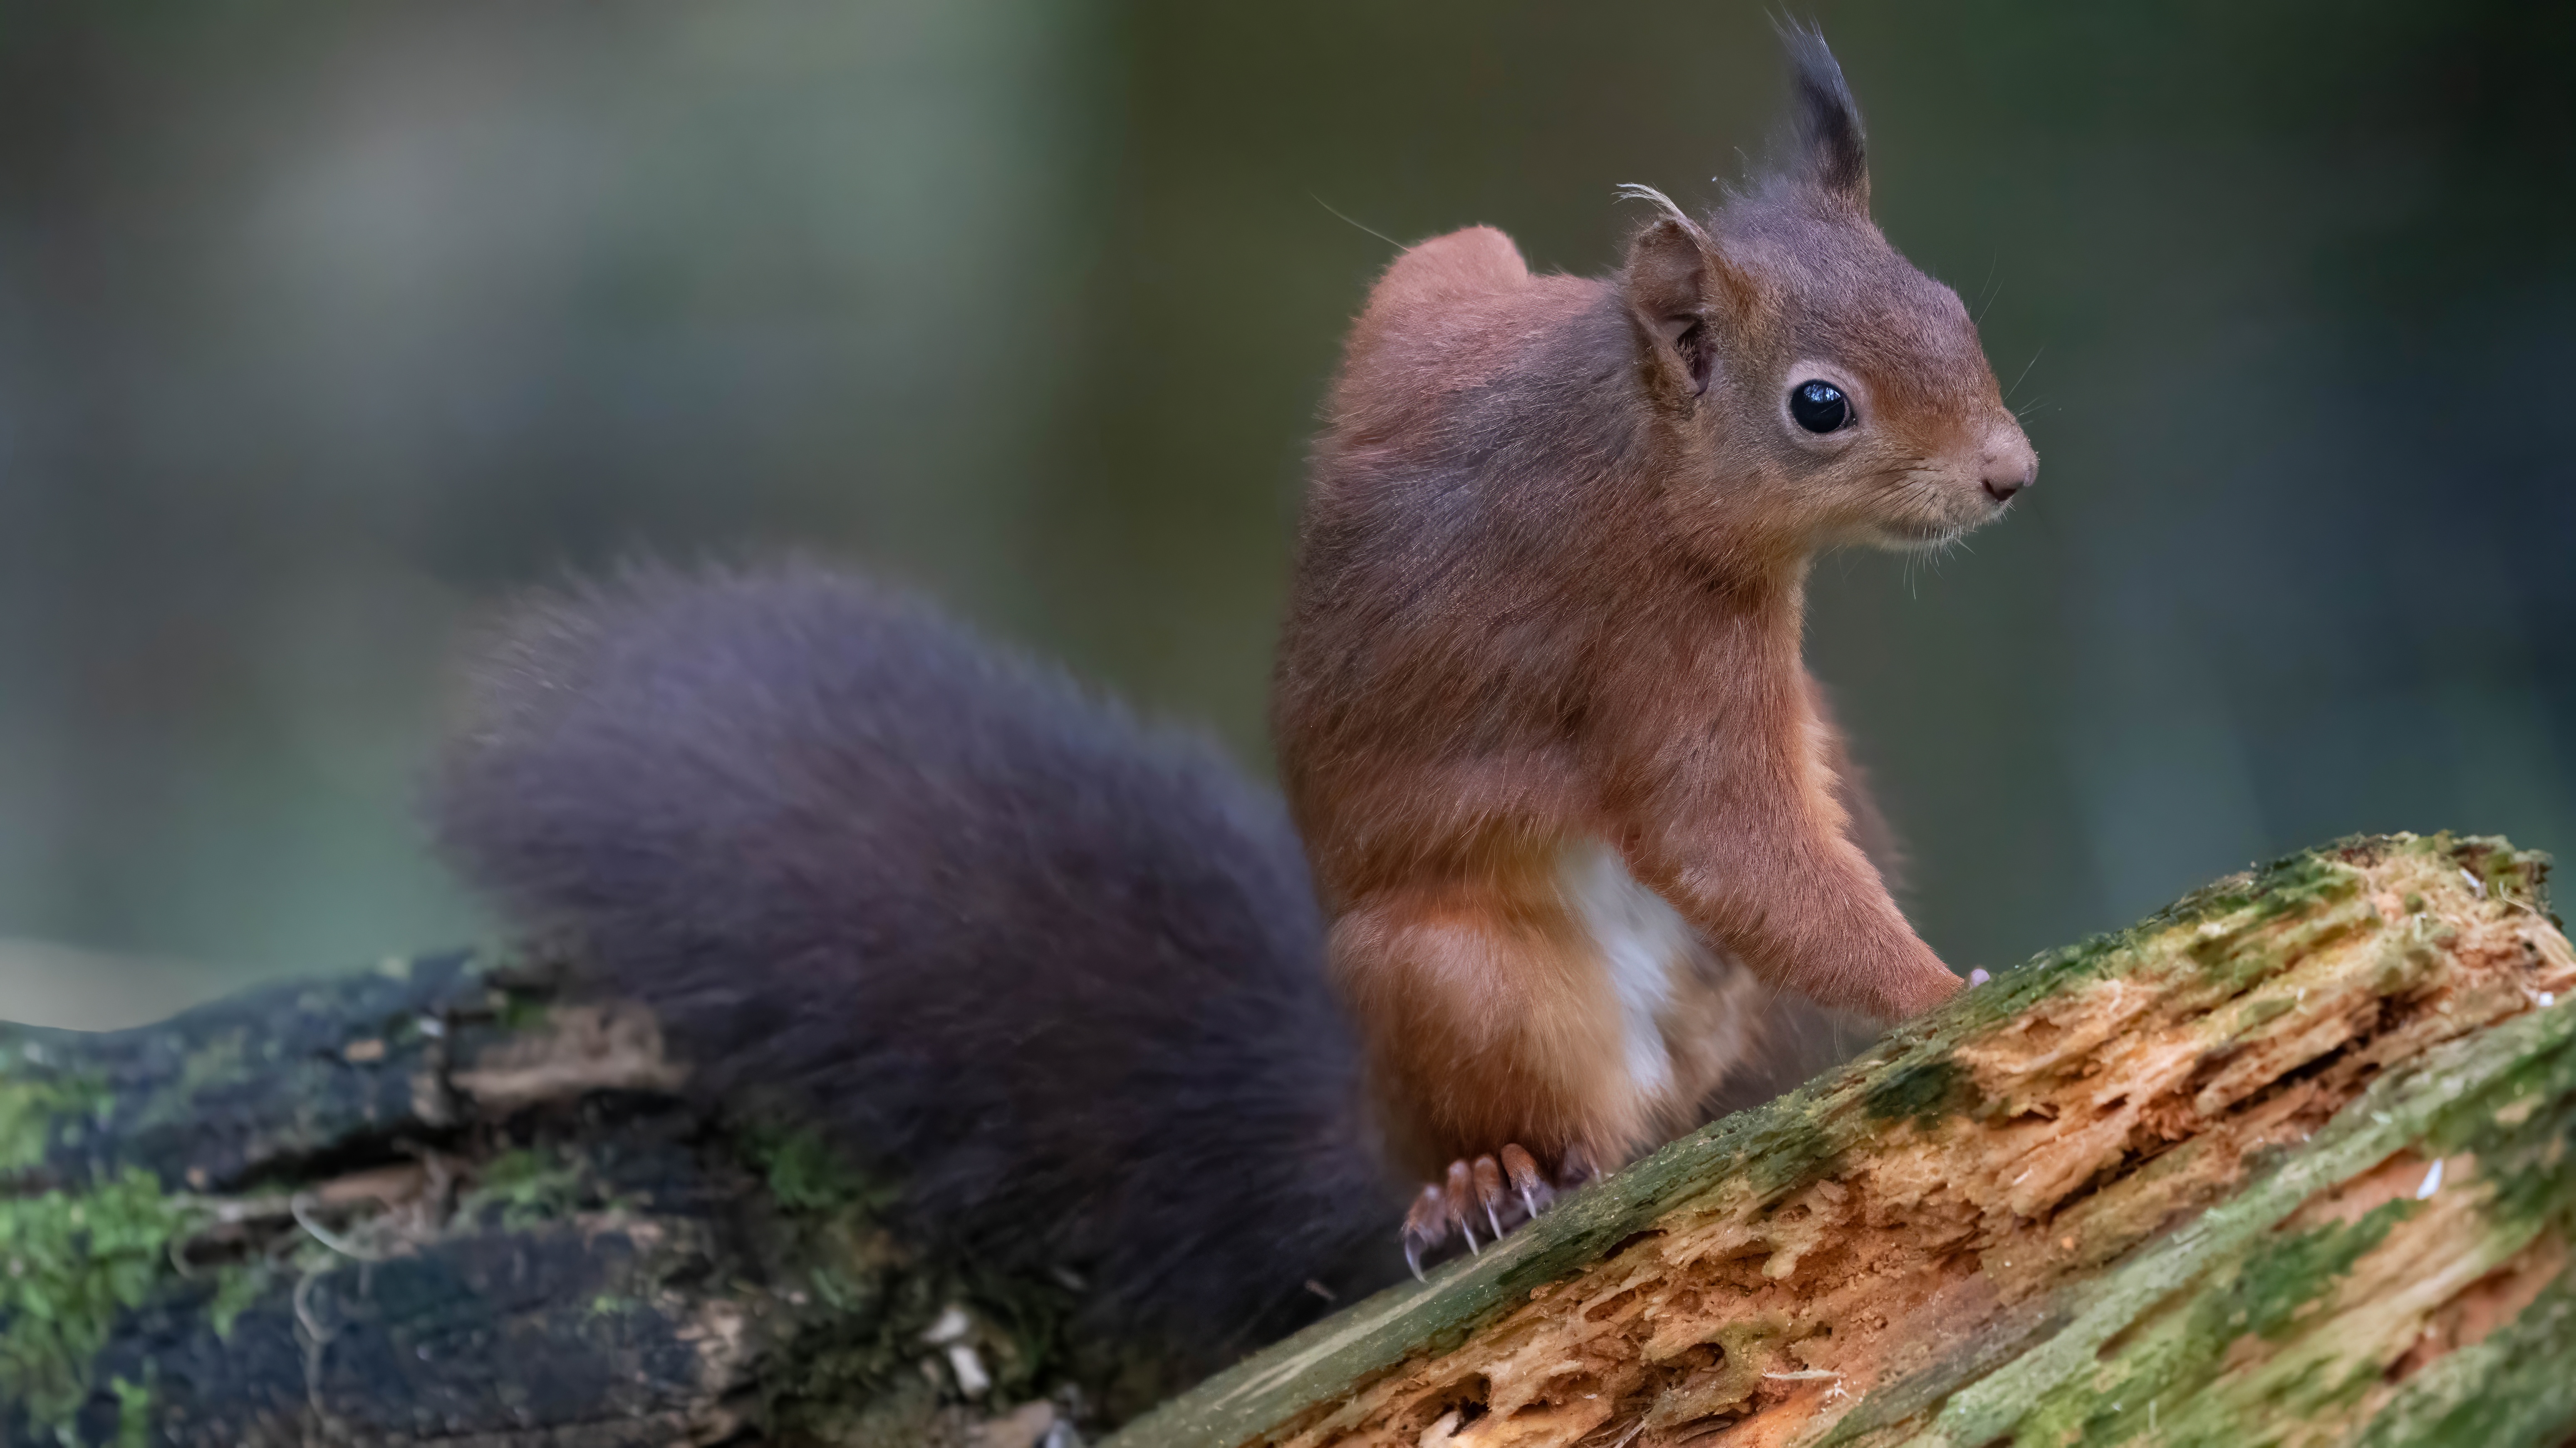
Taking better wildlife photographs begins long before you press the shutter. Whether you photograph red squirrels in North Yorkshire or puffins on a coastal colony, the same principles apply: research, patience, and knowing your equipment. The tips that follow draw on advice from professional photographers and trusted sources, giving you a clear path forward without gimmicks or conjecture.
Essential Gear for Wildlife Photography
Telephoto Lenses and Why They Matter
Wildlife rarely allows you to walk within arm’s reach. A telephoto lens is not optional; it is essential. According to National Geographic, the required focal length depends on how close you can get and the size of your subject. For small birds or shy mammals, you will need more reach than you might expect. A lens that gives you at least 300mm on a full-frame camera is a common starting point, but 400mm, 500mm, or even 600mm often proves more practical for British wildlife. Lighter, smaller animals demand even longer reach to fill the frame without disturbing them.
Supporting Your Lens: The Role of Gimbal Heads
Long telephoto lenses are heavy. Hand holding them for more than a few minutes becomes tiring, and fatigue leads to camera shake. The best support for seriously long lenses is a gimbal head mounted on a sturdy tripod. Natures Photos identifies gimbal heads as the premier option because they allow you to tilt and pan smoothly while keeping the lens balanced. Unlike a ball head, a gimbal head lets the lens float in neutral balance, so you can track moving birds or mammals with minimal effort. This flexibility is key to successful wildlife photography, especially during long sessions in hides or at dawn.
Choosing Camera Settings for Sharp Wildlife Images
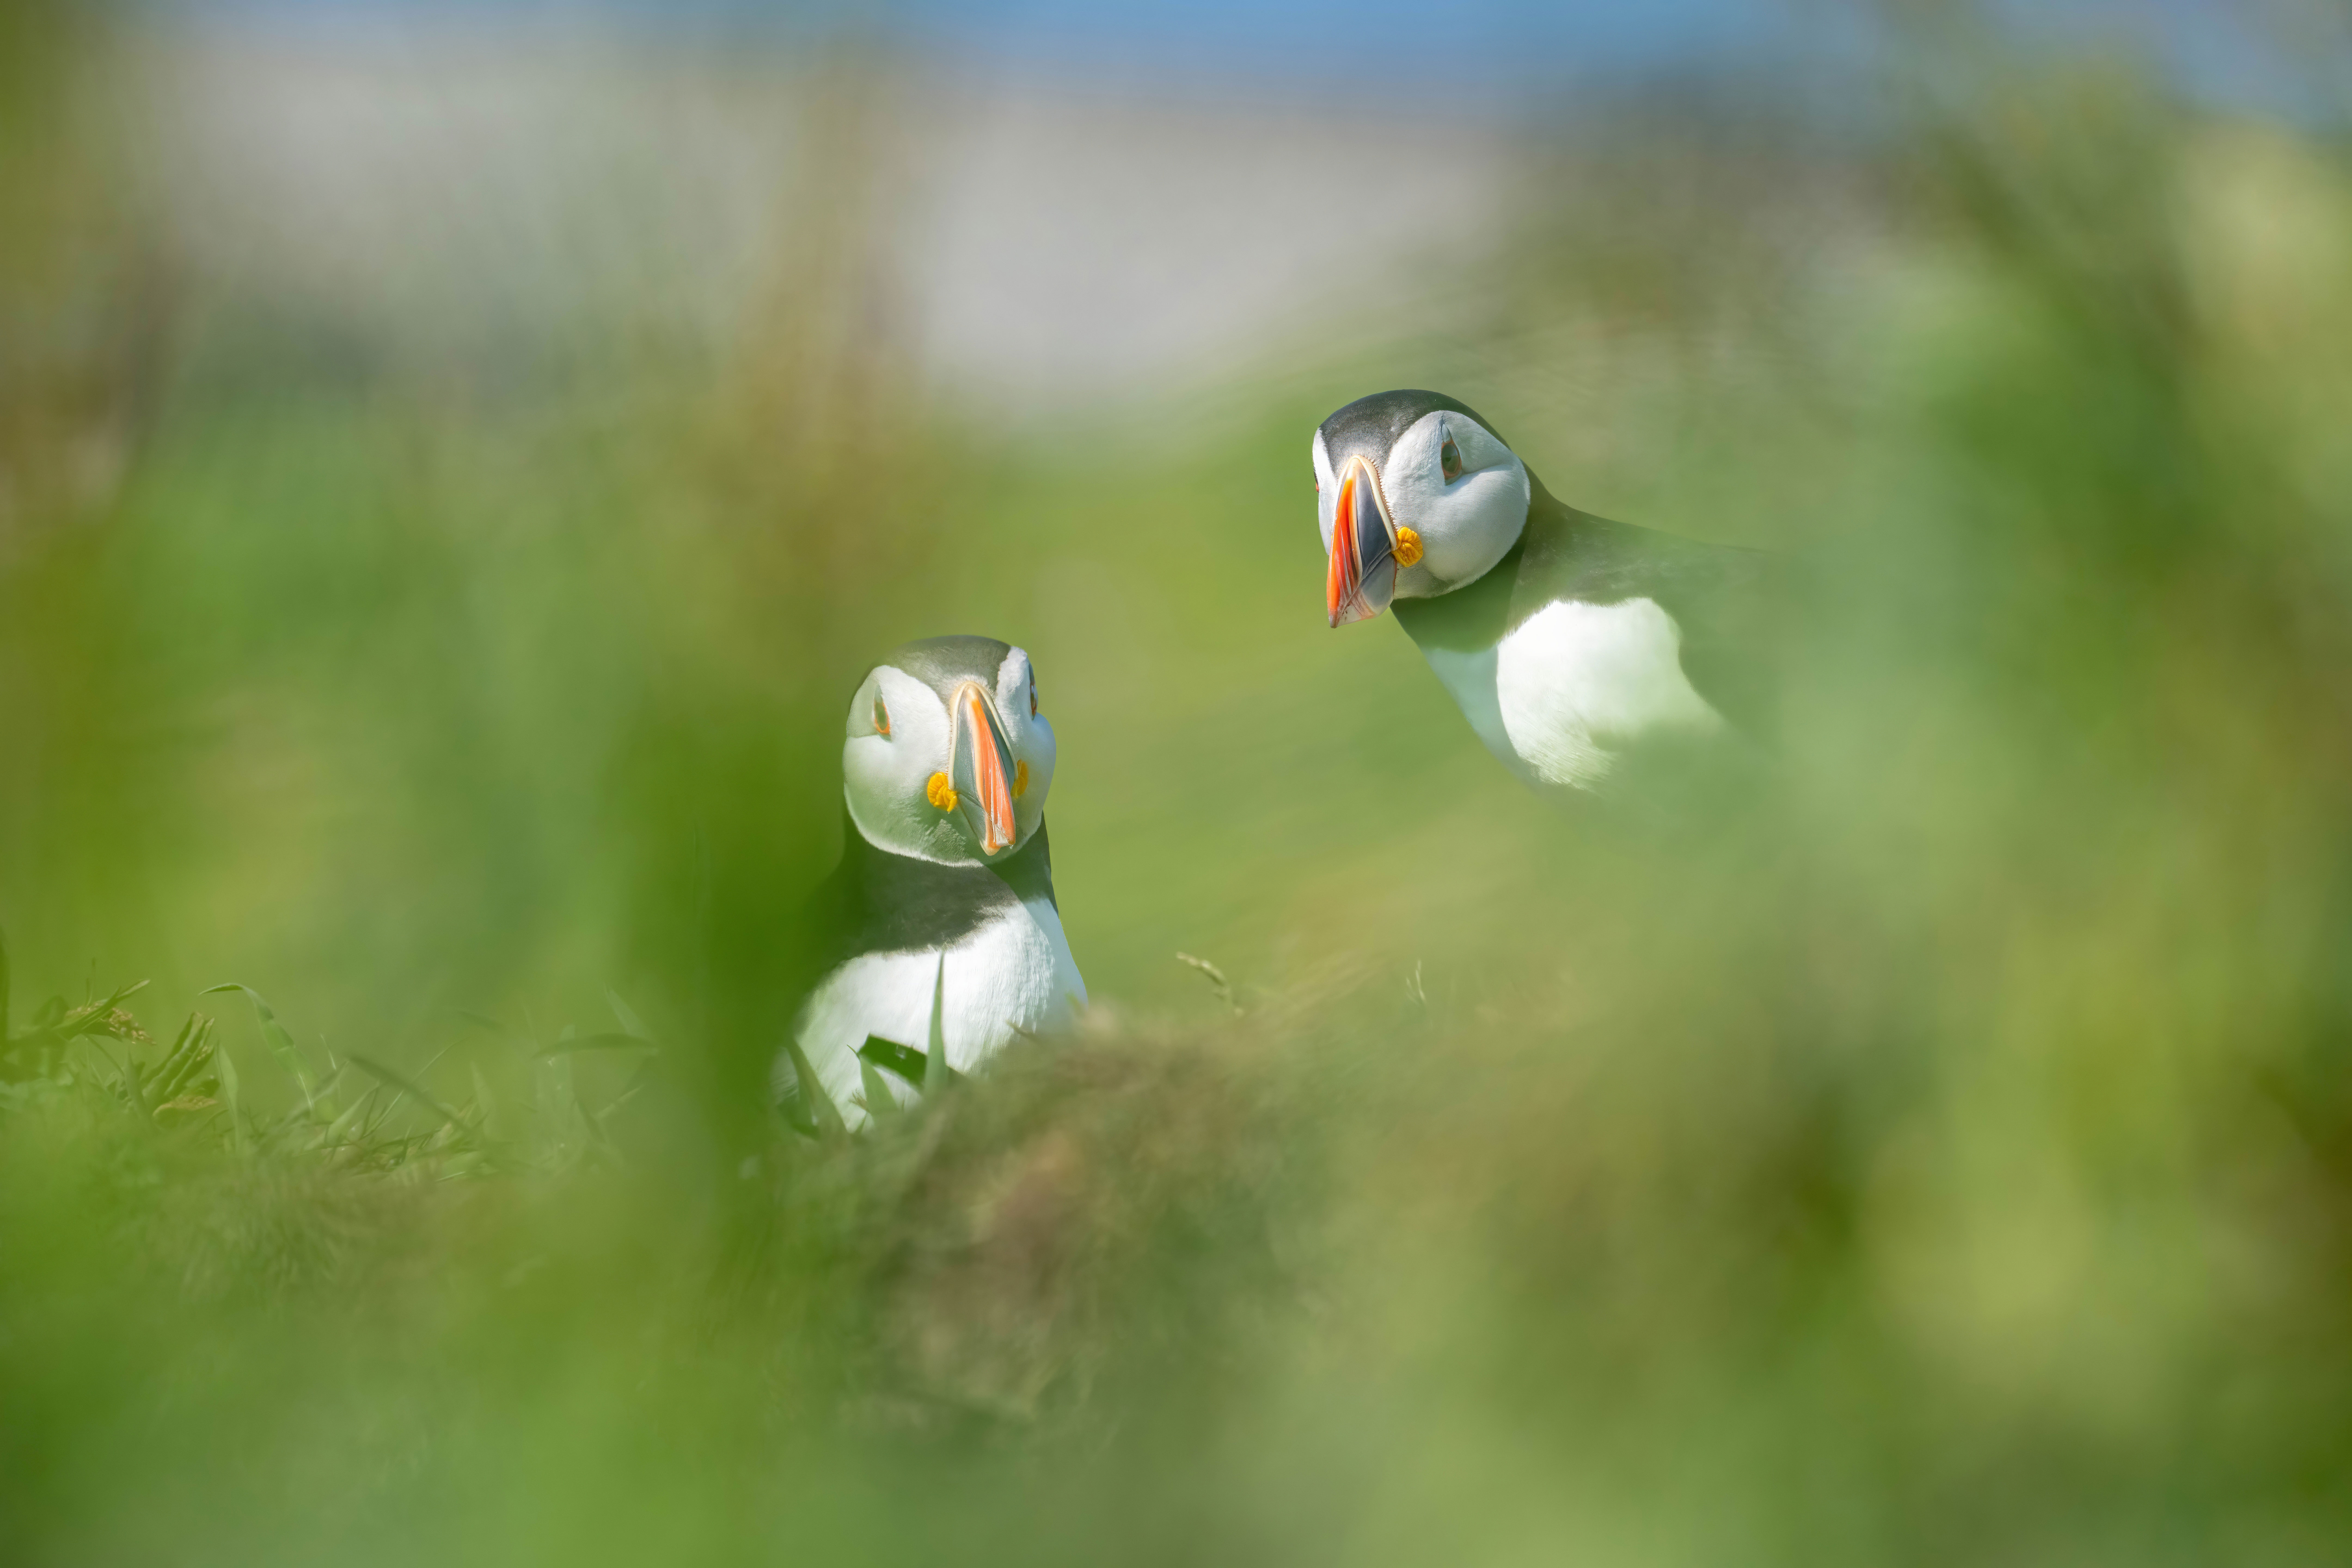
Two settings dominate wildlife photography: shutter speed and aperture. You often need a high shutter speed to freeze motion, whether a bird taking off or a squirrel scampering. A wide aperture (low f-number) helps blur the background, isolating your subject. Using a long zoom lens with a relatively wide aperture produces a narrower depth of field, which can make your subject stand out. Red Fox Photography notes that high shutter speed reduces motion blur and a wide aperture blurs the background. The exact numbers depend on light and subject speed, but starting at 1/1000 second for birds in flight and f/5.6 or f/6.3 is typical.
Mastering Technique
Shoot in RAW, Not JPG
Your camera offers two main file formats: RAW and JPG. Shooting in RAW rather than JPG preserves far more information in each image. JPG compresses and discards data to shrink file size, which reduces your ability to recover shadows or correct exposure later. A user post on Reddit stresses that RAW retains that discarded information, giving you greater flexibility in post processing. For wildlife, where lighting changes quickly and you cannot always get perfect exposure in camera, RAW is the safer choice. The larger files require more storage, but the quality gain is worth it.
Practice Camera Controls Until They Are Instinctive
Wildlife moments happen fast. A fox steps into a clearing, a kingfisher dives, a deer looks up. You cannot afford to fumble with buttons. Canon UK advises practicing camera controls until they become instinctive. This means knowing which dial changes aperture, which button activates autofocus, and how to switch to back-button focus without looking. Spend time in your garden or a local park before heading to a nature reserve. The more automatic your hands become, the more your brain can concentrate on composition and the animal’s behaviour.
Pay Attention to Background Details
Many photographers focus entirely on the subject and ignore what sits behind it. Even when the background is blurred, its colour, patterns, and shapes affect the final image. A bright white patch or a diagonal branch can distract the eye. Canon UK recommends paying careful attention to background details, noting that telephoto lenses make those details appear bigger and closer to the subject than they really are. Something small and far away, like a piece of litter or a pale rock, can become a prominent distraction. Scan the entire frame before you press the shutter.
Planning and Patience
Research Locations and Species Behaviour
You cannot photograph wildlife well without knowing where to find it and what it does. Kevin Pepper Photography emphasises that researching locations and learning about species behaviour is the essential first step. For UK wildlife, this means checking breeding seasons, feeding times, and typical habitats. Puffins arrive at coastal colonies from April to July; red squirrels are most active early in the morning. Study maps, read local reports, and join online forums. Arriving at a site without preparation wastes time and often results in poor photographs.
Use the Golden Hours for Warm Light
Light quality changes throughout the day. Early morning and late evening offer the warmest, lowest sunlight, which gives rich colours and deep shadows. Canon UK advises using early morning or late evening sun for this reason. The low angle also creates texture in fur and feathers, and the long shadows add depth to your images. Midday light is harsh, flat, and unflattering for most wildlife subjects. Plan your trips around sunrise and sunset, and check the weather forecast for clear skies or soft cloud cover.
Persistence: Keep Showing Up
Some days you will return without a single keeper image. A species might not appear, or light may fail, or an unexpected change in weather can spoil a plan. Canon UK states plainly that persistence is key; you may have days without pressing the shutter, but you need to keep going. Wildlife is unpredictable by nature. The photographers who succeed are the ones who return to the same location repeatedly, learning the rhythms of the place and the animals. Each blank day teaches you something about timing or behaviour.
Putting It All Together
Wildlife photography rewards preparation, patience, and a willingness to adapt. Start with a telephoto lens that suits your typical subjects, support it with a gimbal head for steady tracking, and set your camera to a high shutter speed and wide aperture. Shoot in RAW to protect your data, practice your controls until they are second nature, and always check the background. Research your location and species in advance, choose the golden hours around sunrise and sunset, and accept that some trips will produce nothing but experience. By following these wildlife photography tips, you will steadily improve your images and enjoy the process more deeply.
Frequently Asked Questions
Why should I shoot in RAW instead of JPG?
RAW files preserve all the data captured by your camera sensor, while JPG compresses and discards information to reduce file size. This gives you greater flexibility to adjust exposure, white balance, and shadows during editing. For wildlife images, where lighting is often difficult, RAW offers a much better chance of recovering detail in highlights or shadows.
What shutter speed and aperture should I use for wildlife?
Use a high shutter speed to freeze motion and a wide aperture to blur the background. A typical starting point is 1/1000 second for birds in flight and an aperture of f/5.6 or f/6.3. Adjust according to light levels and how fast your subject moves. The combination reduces motion blur and isolates the animal from distracting surroundings.
Do I need a gimbal head for my telephoto lens?
Gimbal heads are the best support option for seriously long lenses because they allow smooth panning and tilting while keeping the lens balanced. Unlike ball heads, they let the lens float in neutral balance, reducing arm fatigue and making it easier to track moving subjects. If you use a lens longer than 300mm, a gimbal head is highly recommended.
How important is the background in wildlife photography?
Even a blurred background can affect your image. Telephoto lenses make background details appear bigger and closer to the subject, so a small bright patch or an ugly line can distract. Scan the entire frame before shooting. A clean, even background that contrasts with your subject makes a stronger photograph.