
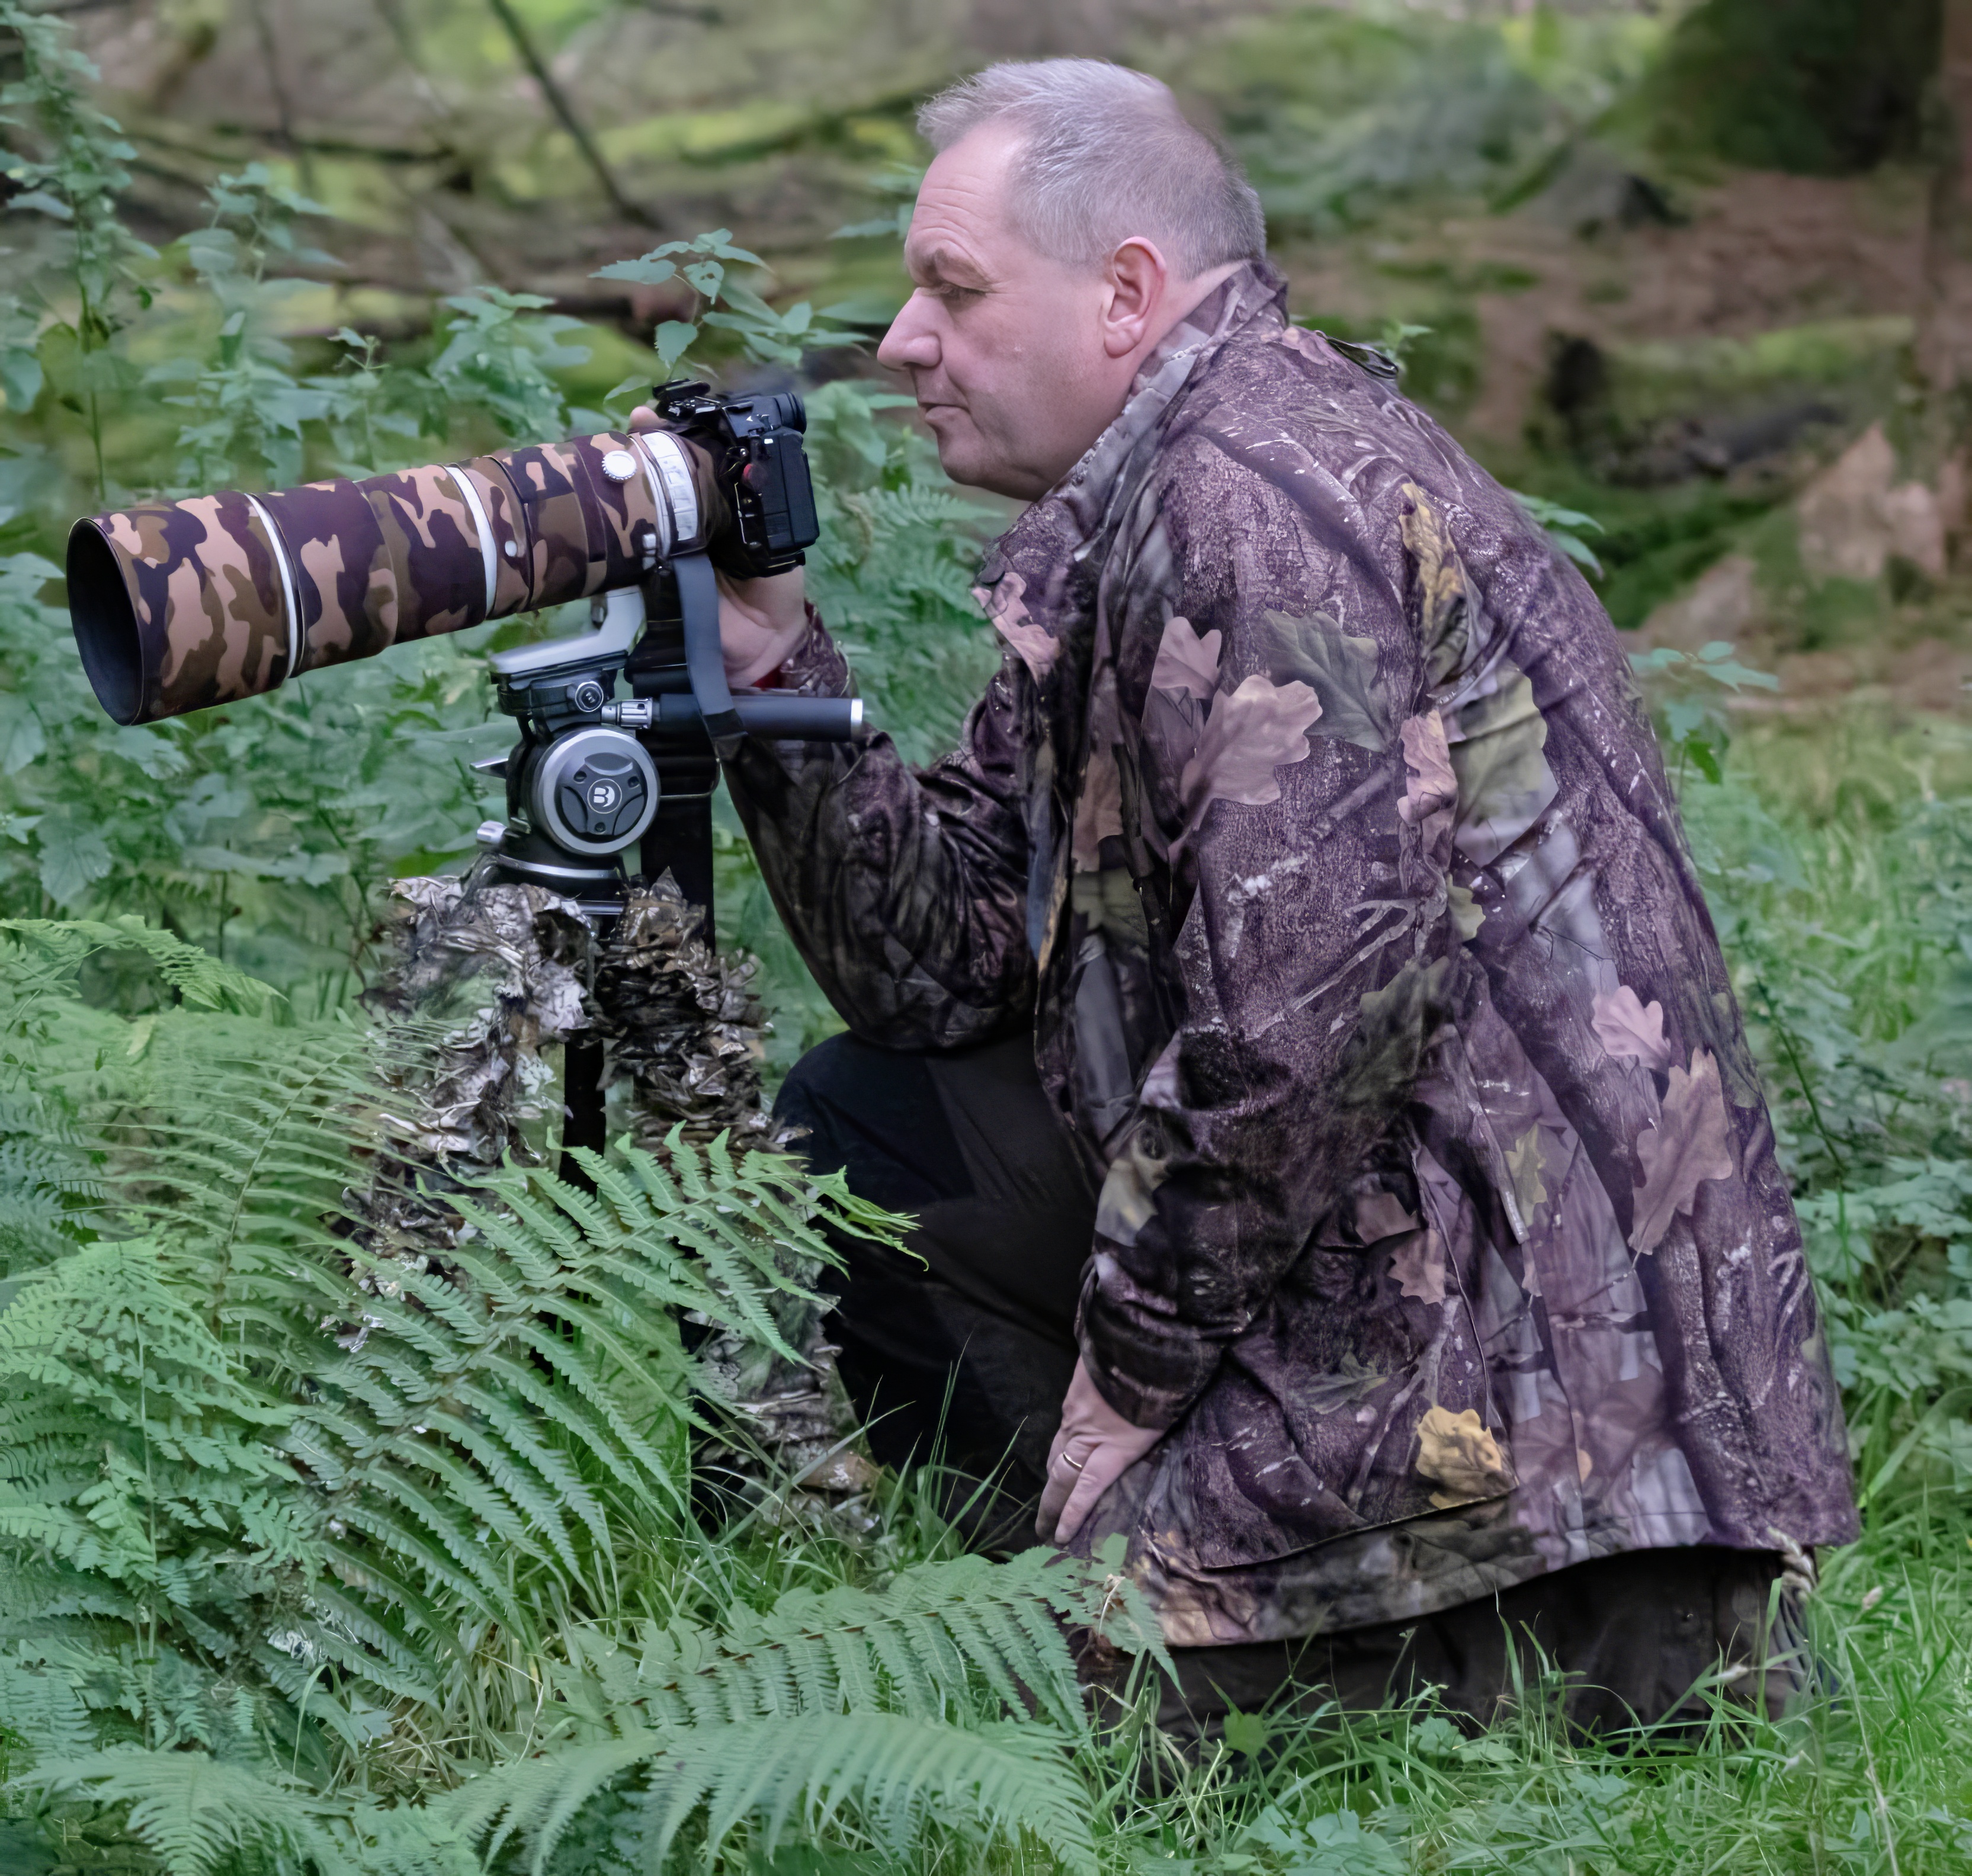
Good wildlife photography composition is the difference between a snapshot and a story. How you arrange the subject, background, and space within the frame determines whether an image holds the viewer’s attention or fades into memory. In the wild, you rarely have a second chance, so understanding these principles before you press the shutter gives you a huge advantage. This article covers the core techniques that experienced wildlife photographers use to frame their subjects, from getting the right angle to knowing when to break the rules.
What Is Wildlife Photography Composition?
Composition in wildlife photography is the arrangement of the subject and the surrounding elements relative to the edges of the frame. Every decision you make in the field about where to stand, how to point the lens, and what to include or exclude is a composition choice. Post-processing cropping can adjust some of these decisions, but the strongest images are composed at the moment of capture.
The goal is always to direct the viewer’s eye toward the animal while telling something about its environment or behaviour. Simplicity is key: a well-composed image should not be cluttered, and the main subject should be obvious from the first glance.
Getting the Angle Right: The Power of Eye Level
One of the most effective ways to improve your wildlife photography composition is to shoot at the animal’s eye level. This helps the viewer feel connected to the subject and separates the image from the many standing shots taken by casual observers. When you photograph from the animal’s eye level, you share its perspective, often making it appear larger and more imposing.
If you cannot get high enough for a larger animal, move back and use a longer lens. For smaller creatures, getting low to the ground is often necessary. A low angle can also simplify the composition by throwing the background out of focus, reducing distractions.
Shooting from ground level transforms a common subject into an intimate portrait. It puts the viewer in the animal’s world rather than looking down on it from above.
The Rule of Thirds and When to Break It
Understanding the Rule of Thirds
The rule of thirds is one of the most widely taught composition guidelines. It involves dividing the frame into nine equal rectangles using two horizontal and two vertical lines. Important elements of the subject are placed on the intersections of these lines. For example, the eye of a bird or the head of a mammal can sit near one of the four power points, creating a more dynamic image than placing the subject dead centre.
Multiple sources recommend using the rule of thirds as a standard starting point for wildlife photography composition. It encourages you to think about placement rather than relying on a central, static arrangement.
Breaking the Rule of Thirds for Creative Impact
However, following the rule of thirds too rigidly can lead to sterile, predictable images. It is a starting point, not a rigid law. Nature photographers are encouraged to break it intentionally to make images stand out. A perfectly centred composition can work well for symmetrical subjects, such as an owl staring directly into the lens, or for a tight portrait where the animal’s face fills the frame. The key is to know why you are breaking the rule, not just to be different.
Negative Space: Breathing Room Around the Subject
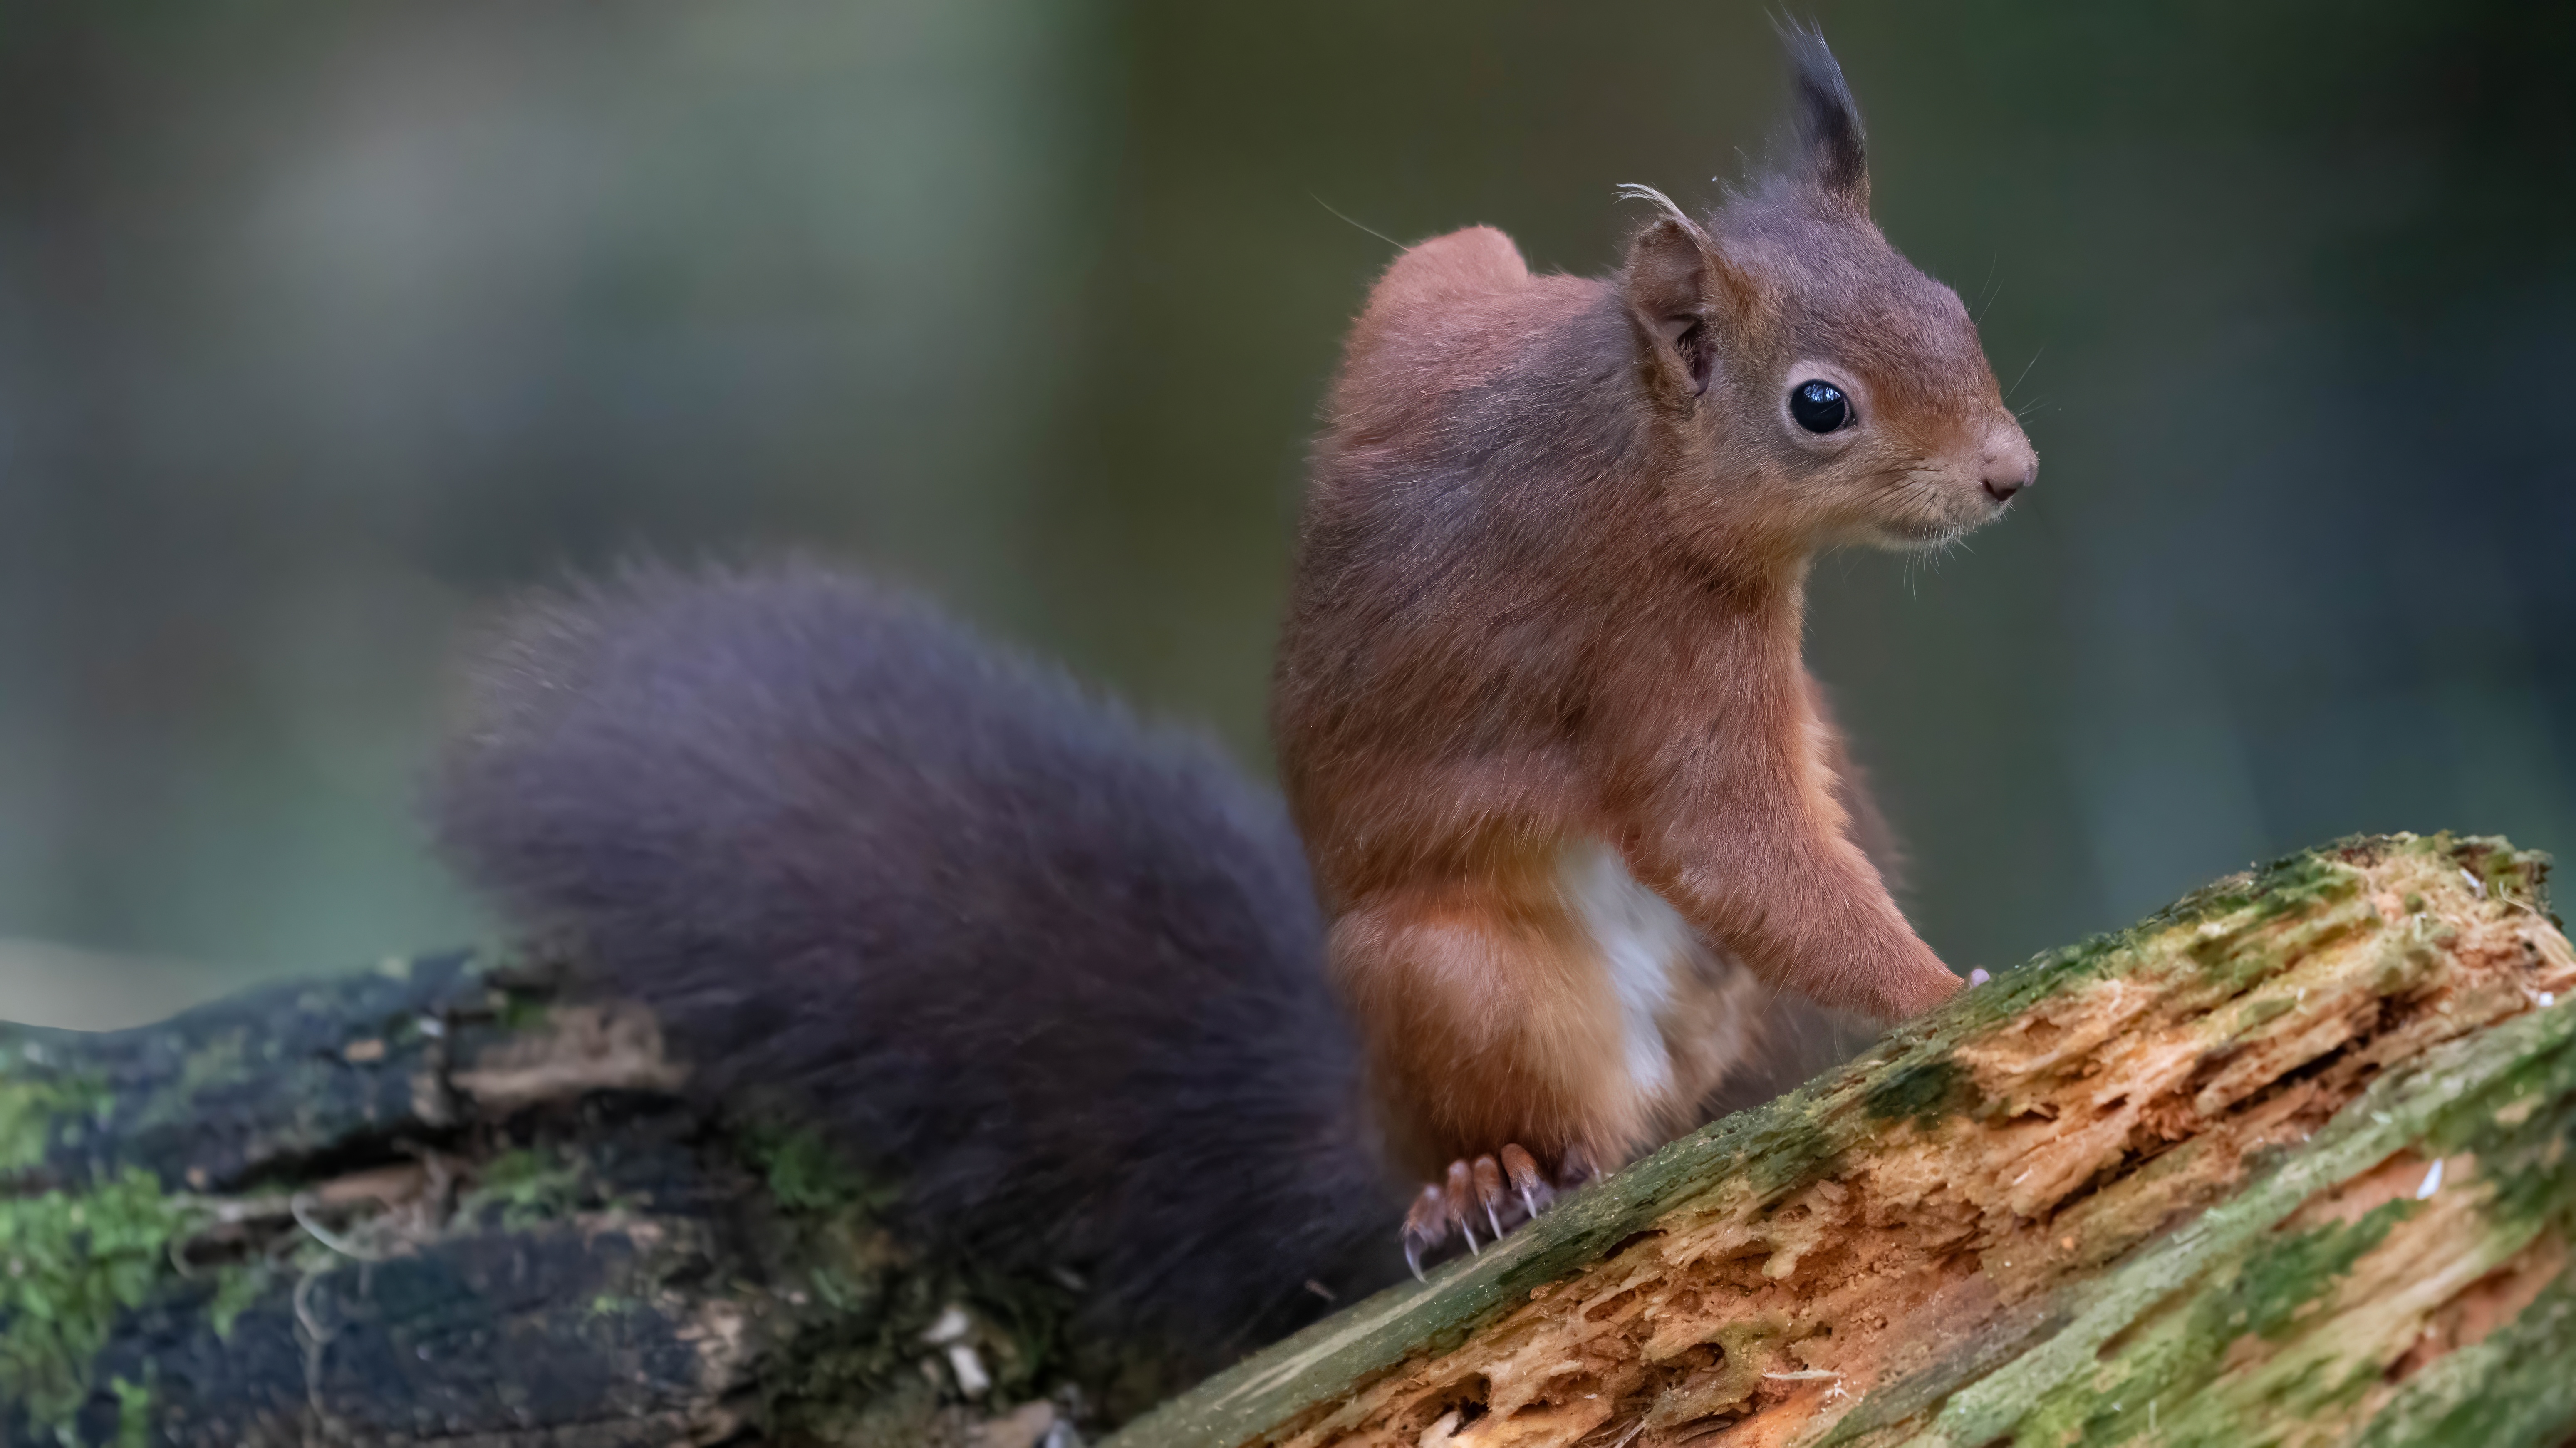
Negative space refers to the empty area around your subject. It gives the viewer’s eye a place to rest and can emphasise the animal’s isolation or the vastness of its habitat. Too little negative space makes the subject feel cramped and uncomfortable. Too much can make the composition feel unbalanced and hollow.
When composing, deliberately look at the areas around the animal. If the background is cluttered with branches, grass, or other animals, consider changing your position or waiting for the subject to move. A clean background, whether it is open sky, calm water, or a distant hillside, acts as negative space that makes the subject pop.
In many wildlife images, the animal is placed off-centre with generous negative space on one side, especially in the direction it is looking or moving. This creates a natural balance and implies a sense of journey or anticipation.
Tight Framing vs. Loose Framing: Context Matters
There is no single correct approach to how close you should frame your subject. The choice depends on the story you want to tell.
-
Tight framing is effective for wildlife portraits and behavioural shots. It gives the viewer an intimate look at the animal’s features, fur, feathers, and expression. A tight composition can convey intensity and focus, especially when the animal is engaged in a specific action.
-
Loose framing includes more of the environment. This approach works well for showing the animal in its habitat, highlighting the scale of the landscape, or telling a wider story about the ecosystem. It also allows the viewer to imagine the action that is about to happen.
A common piece of advice is to avoid tight framing when the animal is moving. If you cut off the space in front of a running cheetah or a flying bird, the image feels constrained and the sense of motion is diminished. Always leave extra space in the direction the subject is looking, walking, or flying. This gives the viewer room to follow the animal’s path mentally.
Focus on the Eyes: The Window into the Image
The eyes are the most important part of any wildlife portrait. Eye contact between the animal and the viewer creates an immediate connection and makes the photograph more engaging. Even a small catchlight in the eye brings the subject to life.
When composing, check that the eye is sharp and that the head angle is favourable. The eye should ideally be near one of the rule-of-thirds intersections, and the catchlight should be present if the light is right. The pose of the head and the direction of the gaze are critical composition elements. If the animal is looking off-frame, ensure there is space in that direction so the viewer’s eye can follow.
Background and Foreground: Keeping It Simple
Choosing a Clean Background
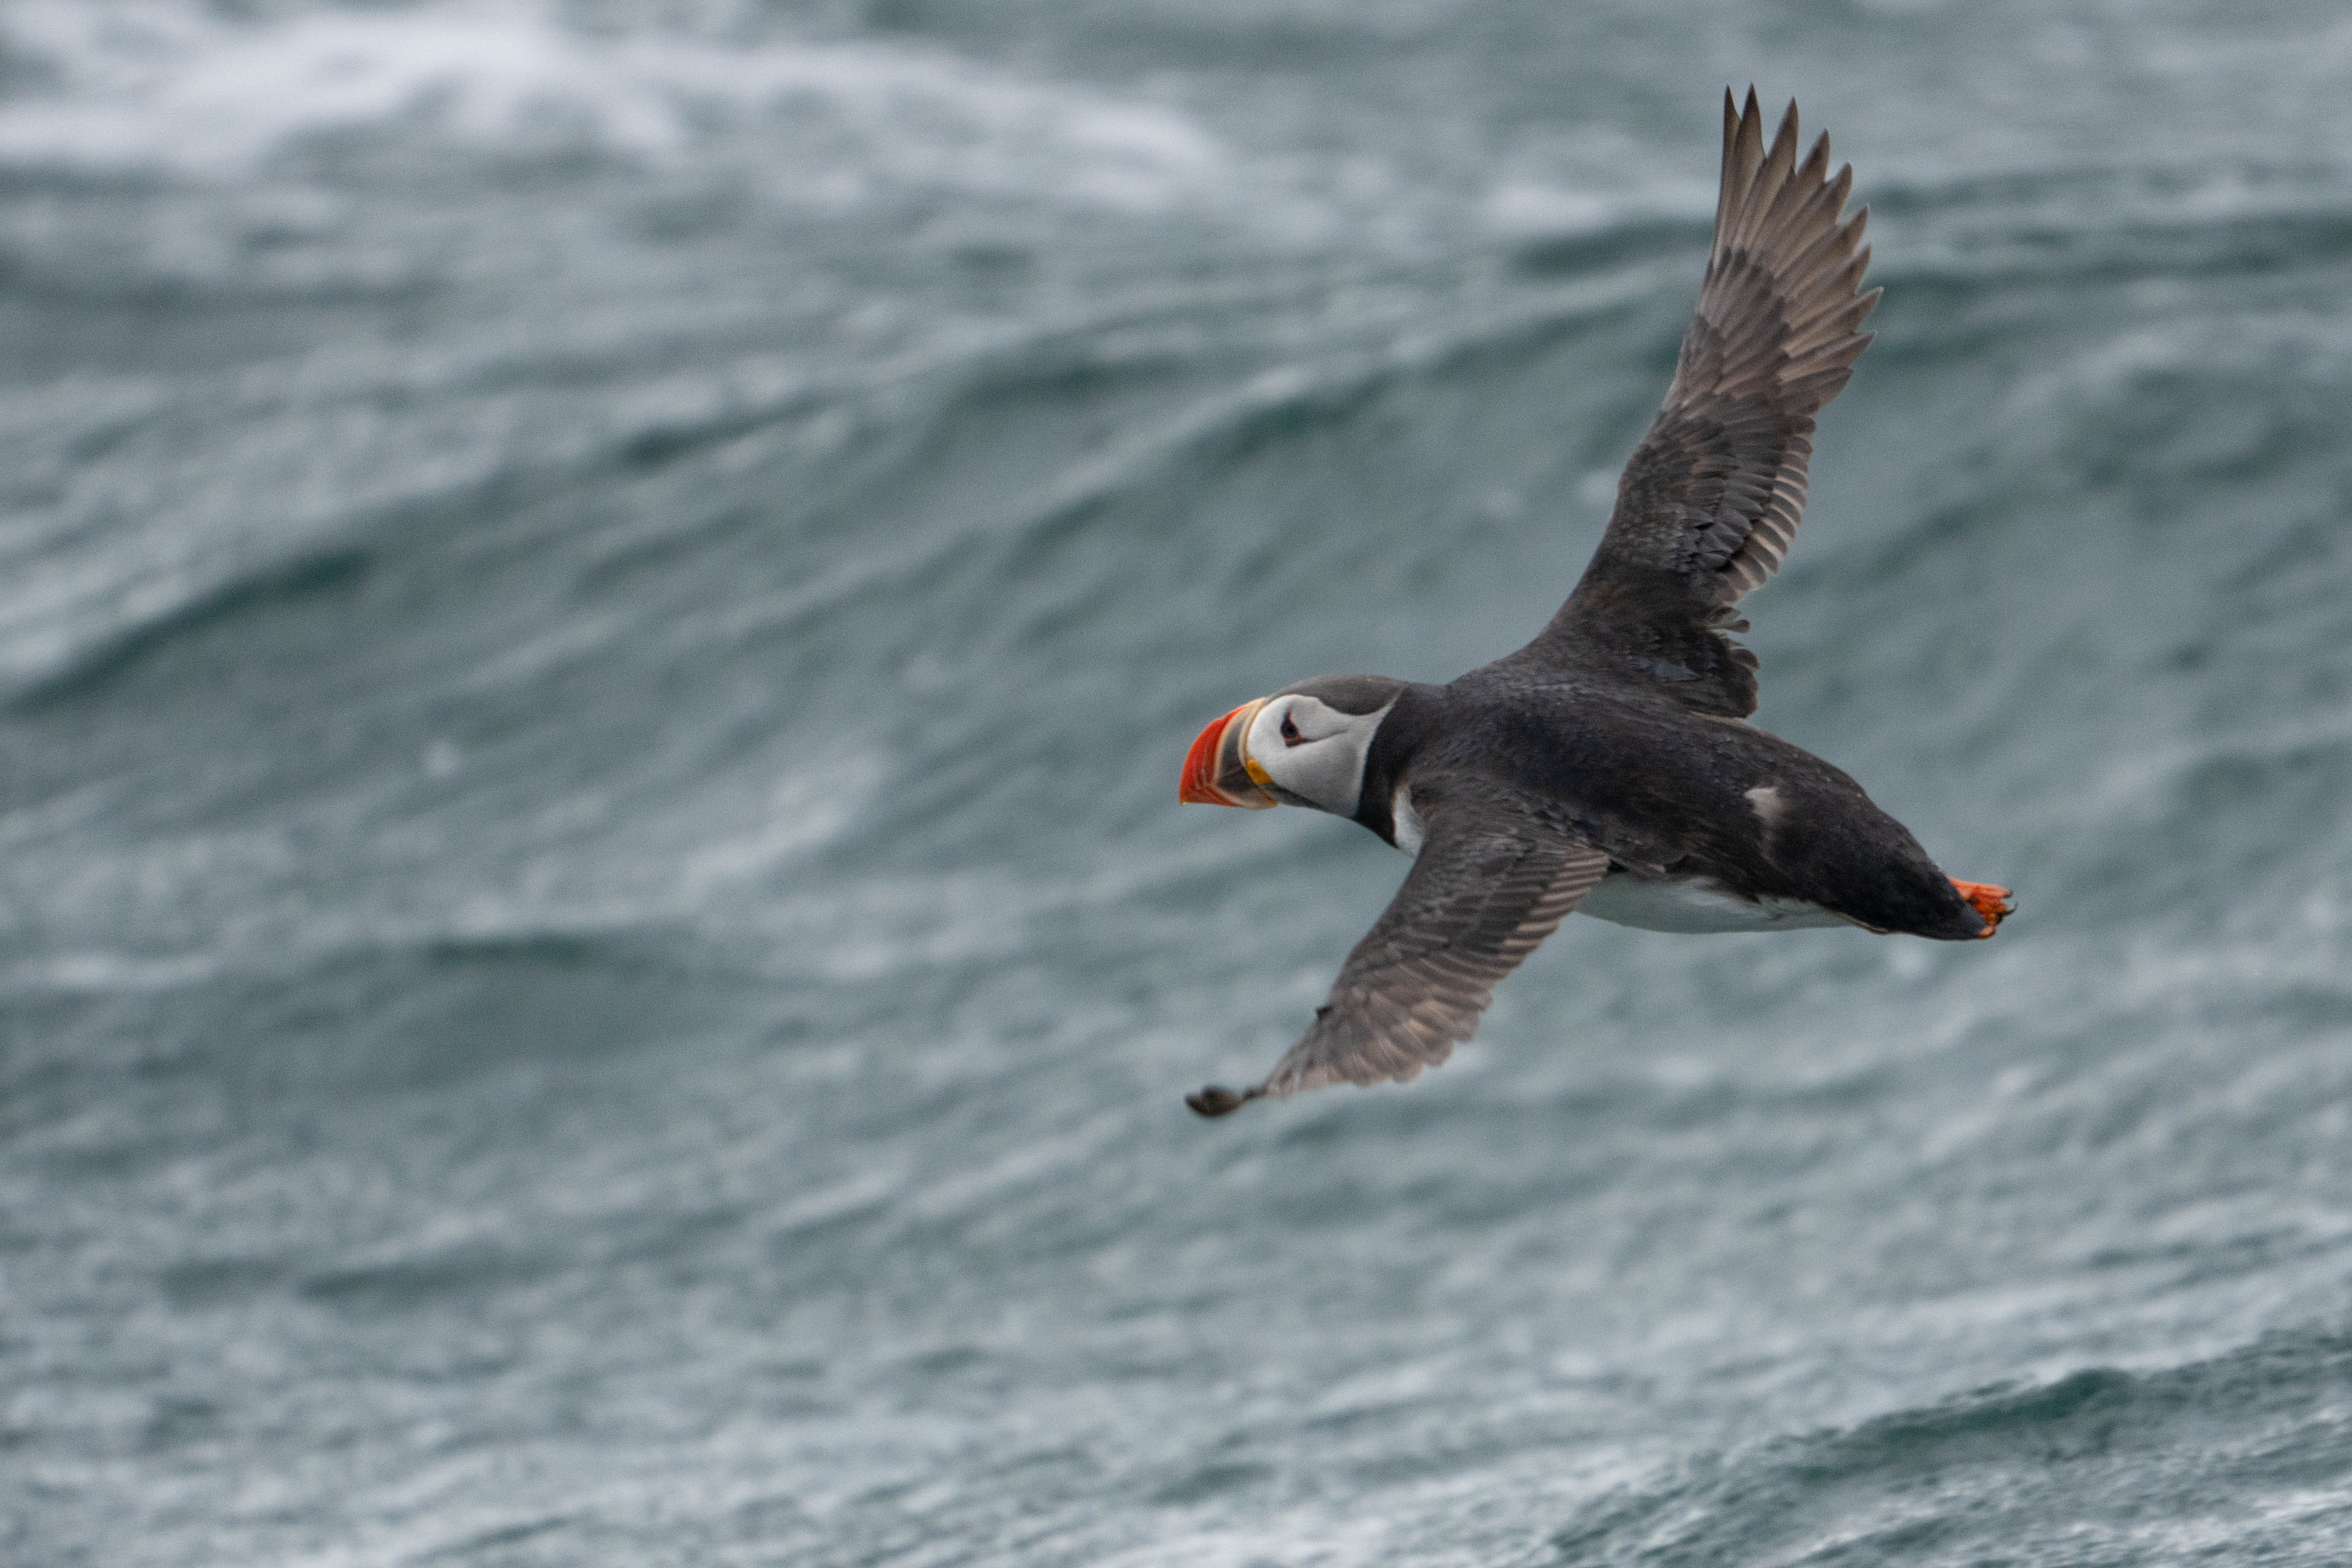
A distracting background can ruin an otherwise perfect shot. The background should complement the subject, not compete with it. Look for uncluttered areas by moving around, getting higher or lower, or waiting for the animal to reposition itself. A soft, out-of-focus background isolates the subject beautifully. This is often achieved by using a wide aperture, such as f/4, which creates a shallow depth of field.
Foreground Considerations
While backgrounds often receive more attention, the foreground also matters. Avoid having distracting elements like twigs, grass blades, or rocks that cut through the subject’s body. If necessary, wait for the animal to take a step or two, or adjust your own position. The goal is that every element in the frame supports the main subject.
Environmental Portraits vs. Close-Up Portraits
Before pressing the shutter, decide whether you want a close-up portrait that emphasises the animal’s features, or an environmental image that shows the animal in its habitat. Both have their place in wildlife photography composition.
-
Close-up portraits focus on the animal’s face, head, or a key behaviour. They are intimate and direct, often used for species with striking features.
-
Environmental portraits include the landscape, vegetation, or weather conditions. They tell a broader story about the animal’s life and ecosystem. For example, a bear fishing in a salmon river with autumn leaves in the background gives context that a tight headshot cannot.
Consider which approach best tells the story you want to share. Sometimes both can work for the same species on different days.
Avoiding Common Composition Mistakes
-
Avoid placing the subject dead centre of the frame unless there is a strong compositional reason.
-
Avoid chopping off body parts such as feet, tails, or wingtips. If you are going to crop, do so deliberately in-camera or in post-processing, but be aware of the lost context.
-
Avoid distracting backgrounds by moving yourself rather than just zooming in. A small shift to the side can sometimes eliminate a bright branch or a patch of sky.
-
Avoid tight framing on moving subjects. Leave room ahead of the animal to imply motion.
-
Do not neglect the rule of thirds, but do not follow it blindly. Use it as a tool, not a straitjacket.
Lighting Considerations for Composition
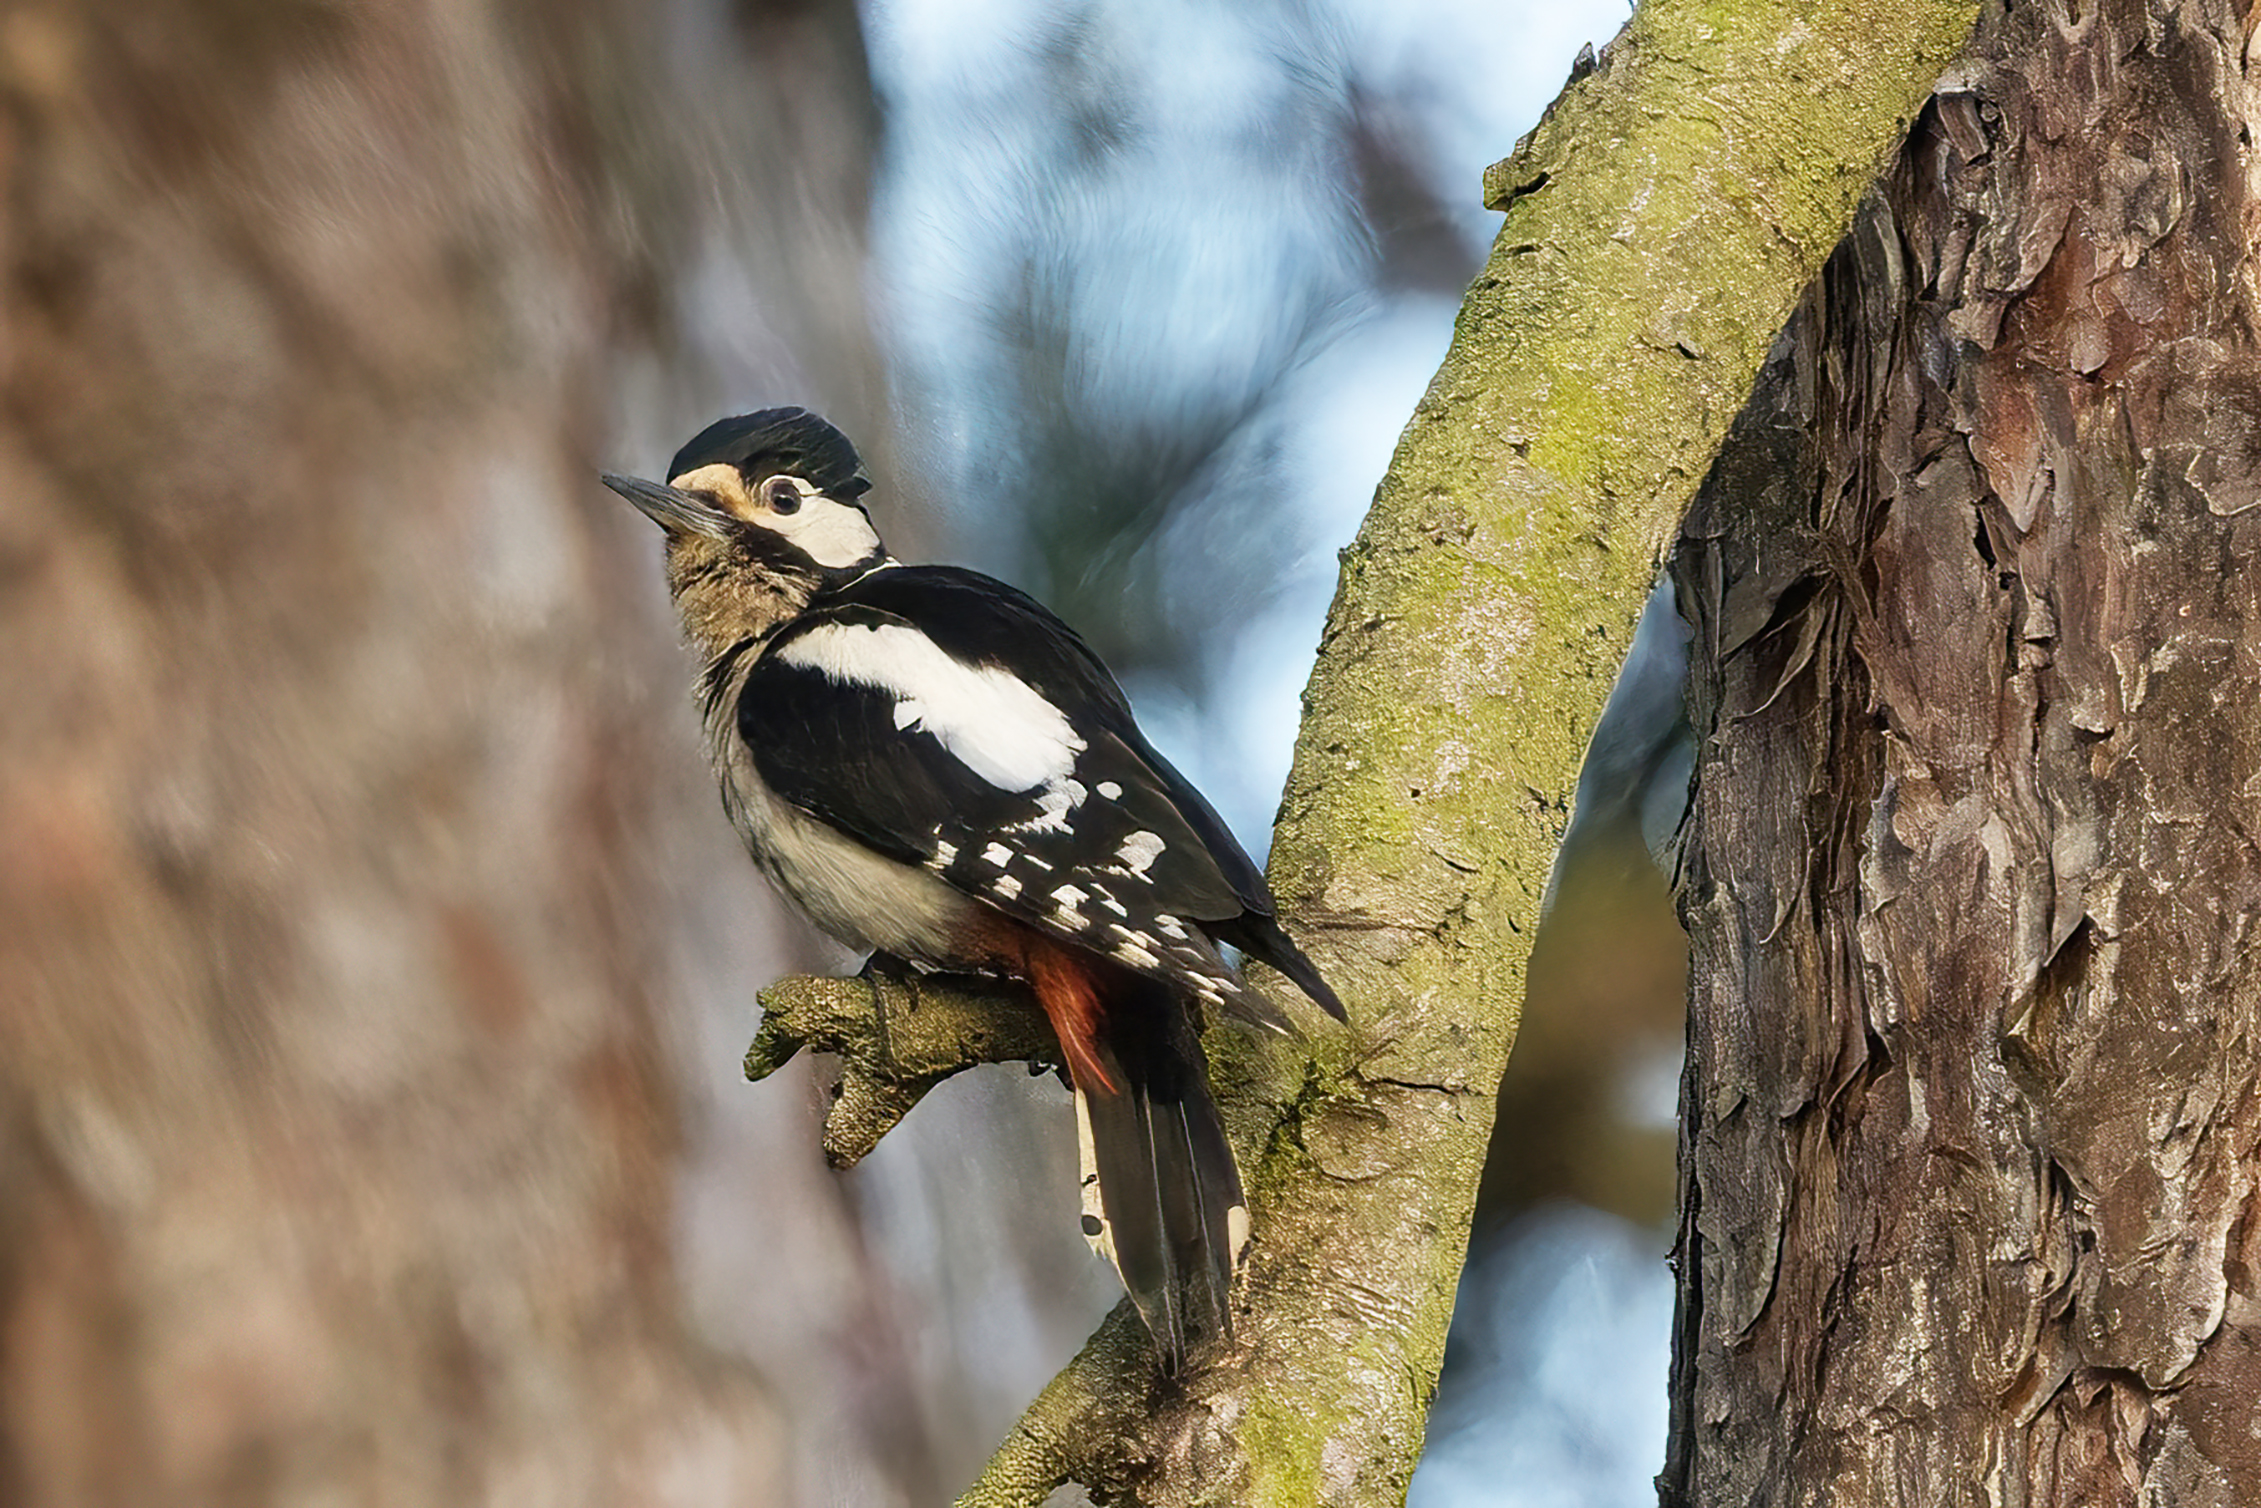
Lighting and composition go hand in hand. The best light is generally behind you or slightly to the side. Direct, harsh sunshine creates strong shadows and can bleach out detail. Dawn and dusk offer softer, warmer light that adds depth and mood to your compositions.
When the light is low, the background often becomes darker and more uniform, which helps the subject stand out. Use this to your advantage by positioning yourself so that the animal is illuminated from a favourable angle. Golden hour light also adds a natural golden glow that enhances any composition.
Practical Tips for the Field
-
Determine your subject first before worrying about the frame. Once you know what the main subject is, you can use cropping or a shallow depth of field to isolate it from distractions.
-
Shoot from a low angle to simplify the background and make the subject appear larger.
-
Check the edges of the frame for distracting elements like a twig entering the corner or a bright highlight that draws attention away.
-
Use the viewfinder’s grid if your camera offers it. This helps with rule-of-thirds placement while you shoot.
-
Practice patience. Often the best composition comes after waiting for the animal to turn its head, move into better light, or step into a cleaner area of the scene.
Frequently Asked Questions
What is the most important rule of wildlife photography composition?
The most important principle is to focus on the eyes and shoot at eye level with the animal. This creates an immediate connection between the viewer and the subject. After that, applying the rule of thirds and allowing space in the direction of movement will greatly improve most images.
Should I always use the rule of thirds for wildlife photos?
No. The rule of thirds is a helpful guideline, but it should not be applied rigidly. Breaking it deliberately can produce more creative and impactful images, especially with symmetrical subjects or tight portraits. The key is to understand why you are breaking it.
When should I use tight framing versus loose framing?
Use tight framing for intimate portraits and behavioural close-ups where you want to emphasise detail and expression. Use loose framing when you want to show the animal in its habitat or imply movement. Always leave space in the direction the animal is looking or moving to avoid a cramped feel.
How can I avoid distracting backgrounds in the wild?
Change your physical position: move lower, higher, or step sideways to find a cleaner background. Use a wide aperture to blur the background. Wait for the animal to move to a better spot. If the background cannot be changed, consider a different composition that incorporates it positively as an environmental element.
What is negative space and why does it matter?
Negative space is the empty area around the subject. It gives the image breathing room, prevents the subject from feeling cramped, and can emphasise isolation or scale. Too much negative space can feel unbalanced, so the goal is to find a harmonious amount that supports the subject without overwhelming it.
Wildlife photography composition is both a skill and an art. Start with the basics: eye level, rule of thirds, clean backgrounds, and space for movement. Then allow yourself to experiment and break those guidelines when the scene calls for something different. With practice, these decisions become second nature, and your images will tell stronger, more engaging stories from the wild.